TABLE OF CONTENTS
Overview
This FAQ provides an overview of shipping options on the Bunnings marketplace.
Shipping is generally set up within Bunning and will be discussed with you by your account manager. See:
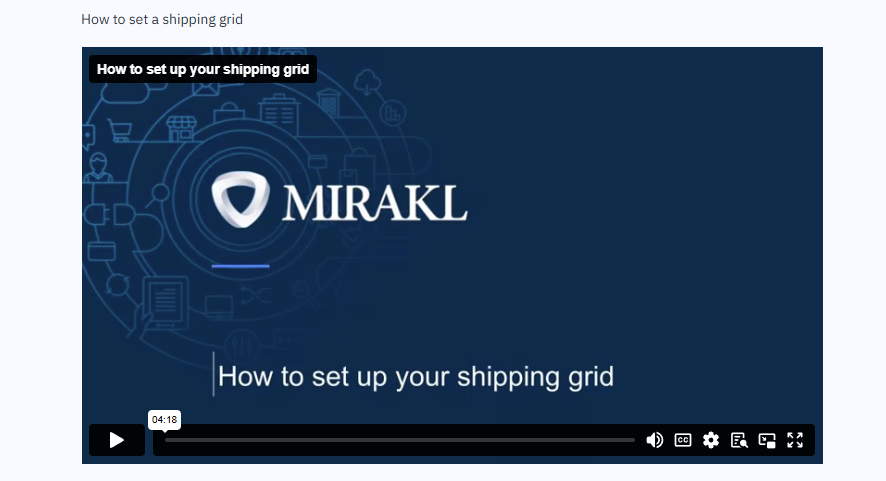
- This setup video on the marketplace provides information on how to set up shipping.
- This Bunnings FAQ for shipping configuration
You will need to be logged into your Bunnings seller account to view the above links.
You will also need to create a shipping policy in Omnivore, but this should only be done after you’ve completed your shipping setup in your Bunnings seller account.
Shipping options
The options available for shipping are:
- Flat rate shipping
- Standard
- Free shipping on all products or for products over a certain threshold
- Shipping based on 31 defined shipping zones - create a flat rate for each zone. You can also set different rates for parcel sizes within each zone.
- Weight-based shipping - you will need to set up Product Groups using the Weight criteria in Omnivore, then link each product group to a Bunnings Shipping Class in the Omnivore Shipping Policy.
- Shipping charges for different products as defined using Product Groups in Omnivore.
For additional assistance and setup articles, search for "Shipping" in your Bunnings Partner Hub dashboard. Also, the Bunnings prepared PDF attached has the full setup guides for shipping alongside the Bunning Setup Videos -
Set up steps within Omnivore
As per the Bunnings Setup Guide, make sure you have set up your Shipping Zones, Free Shipping if required and shipping costs for each zone. This part should be completed first.
We recommend reading all of the scenarios below to fully understand which scenario/s will work best
Default Shipping Policy
Note that you must provide a default shipping policy that doesn't have a product group defined; otherwise, you will see the warning "Please define a default shipping method" on the dashboard. The default shipping method acts as a fallback policy for products that do not fall into any defined group.
Scenario 1 - Using one shipping zone and a default shipping policy
- Shipping setup in Omnivore can be found under Settings > Bunnings > Shipping. The snippet below shows a simple one-policy-only setup that is the default.

- To set up something like this, make sure your Shipping Zone is set up on Bunnings first if required.
In Omnivore, click Add new shipping policy, then complete the fields, choosing Free or a Shipping Class from the Policy name dropdown.
- Do not select a product group, so the policy name will be set to default.
- Click Update
Scenario 2 - Using multiple shipping zones and product groups
- The scenario below shows shipping using multiple shipping zones / classes and product groups.
The seller has created product groups based on product type categories and they are assigned to Shipping Classes in Bunnings.
- In Omnivore, click Add new shipping policy, then complete the fields, choosing the relevant Shipping Class from the Policy name dropdown, then select a Product Group from the Use Product Group dropdown.
- Product Groups can be based on SKU, price, weight, category and brand. How to set up a Product Group
Scenario 3 - Free Shipping
- To set up FREE shipping, we recommend reading the attached Bunnings Setup Guide Shipping section first.
- Then, within Omnivore, go to Settings > Bunnings > Shipping, create a new policy and select Policy Name Free Shipping (with or without a product group depending on your setup).
- Bunnings also has the ability to set free shipping at the order level.
Scenario 4 - Shipping by weight
- Each product must have a weight in your e-Commerce platform, and it is usually added in kilograms. To check that Omnivore has imported your weights, go to Products > On Bunnings. In the table of products, there is a column called 'Weight' which will display the relevant value.
- Magento users: In Omnivore, go to Settings > Feeds > General. Scroll down and click the Map Fields button. Ensure that the Magento weight field is showing in the Omnivore weight field.
- Create your Product Group based on Weight by following this FAQ here.
- To check if a product has been assigned to a product group, go to Products > On Bunnings. Find the product and click through to the page that provides the full product details. Scroll down to the box Bunnings Product View and you will see a list of Product Groups that the product is assigned to.

- Now that you have your weight-based groups set up, you can create a shipping policy, select your Shipping Class and assign a weight Product Group in Omnivore.
- See scenario 2 above, which follows the use of groups.

